
How to Grow Kale Microgreens: A Beginner-Friendly Guide
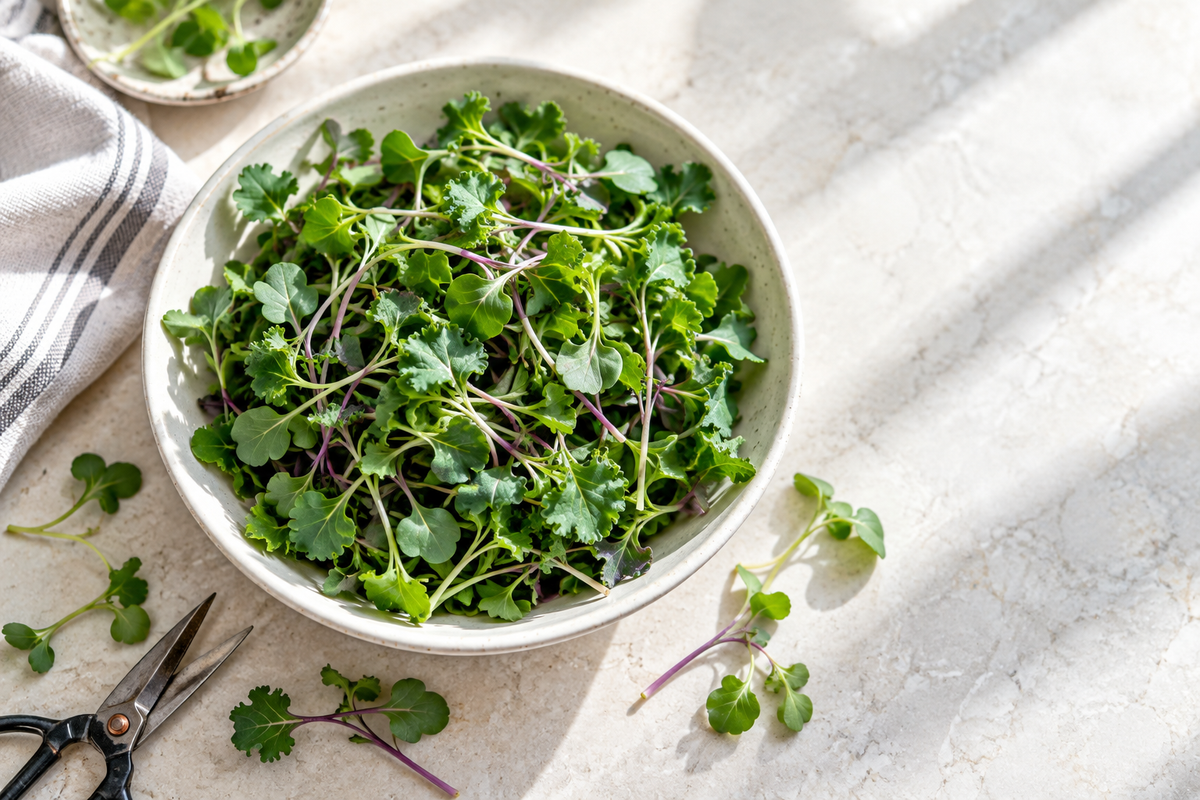
Kale microgreens are a dependable choice for home growers and commercial farms. They develop tender green leaves, pale stems, and a mild brassica flavor that works in salads, sandwiches, wraps, smoothies, and meal bowls. Their familiar name also makes them easy to introduce to customers who may be trying microgreens for the first time.
Like every microgreen crop, kale performs best when the grower controls the basics: clean equipment, evenly distributed seed, balanced moisture, suitable temperature, adequate light, and good airflow. The goal is not simply to produce one attractive tray. It is to create a method that can be repeated from batch to batch.
Choose Seed Intended for Growing
Begin with properly identified kale seed from a dependable source. Record the variety, supplier, lot number, germination information, and date received. Seed-lot records become especially valuable when comparing trays or troubleshooting a change in performance.
Dwarf Blue Curled, also known as Vates Scotch, is a popular kale variety for microgreen production. It produces classic green leaves and a mild flavor. Whatever variety you choose, test a new lot under your own growing conditions before committing it to an important customer order.
Prepare a Clean, Even Tray
Use a clean tray with drainage and a second tray below it to catch water. Add your preferred growing medium and spread it evenly from edge to edge. An uneven surface can cause water to collect in low areas and leave high areas too dry.
Moisten the medium without turning it into mud. It should feel evenly damp but should not release excessive water when pressed. If the tray is already saturated before sowing, the seed may remain in overly wet conditions during germination.
Sow Kale Seed Evenly
Kale seed is small, so careful distribution matters. Spread the seed across the entire growing surface, including the edges and corners. Avoid piles or bare areas. Dense pockets can hold moisture and reduce airflow, while thin areas create an uneven harvest.
Instead of relying only on a general seeding recommendation, record the seed weight that works with your exact tray and growing area. Tray dimensions, medium depth, room conditions, and seed lot can all affect the best amount.
After sowing, gently press the seed into contact with the moist medium. Good seed-to-media contact helps the seeds receive moisture more consistently.
Germination and Blackout
Many growers cover or stack kale during the early germination period. The purpose is to maintain darkness, moisture, and contact while the seed begins to sprout. Check the tray daily rather than following a fixed number of days without looking.
Move the crop into light when germination is established and the seedlings are ready to expand. Leaving a crop covered too long can produce stretched, weak growth. Uncovering too early can allow exposed seed to dry.
Light, Water, and Airflow
Once uncovered, give kale consistent light so the seedlings develop color and sturdy growth. Keep lights positioned according to the manufacturer’s guidance and observe how the crop responds. Excessive distance may encourage stretching, while too much intensity or heat can stress the leaves.
Bottom watering is commonly used after roots are established because it keeps much of the foliage dry. Add only what the crop can use and remove persistent standing water. The medium should remain moist, not waterlogged.
Air movement should be gentle and continuous enough to discourage stagnant, humid pockets. Fans should circulate room air rather than blasting directly onto delicate seedlings.
Harvest and Quality Check
Harvest with a clean, sharp tool when the crop has reached the size, appearance, and flavor you want. Cut above the growing medium and avoid pulling soil or other material into the finished product.
Before packaging, check the tray for unusual odors, discoloration, excessive moisture, decay, or questionable growth. Follow your approved handling and food-safety procedures. Keep harvested microgreens cold and protect them from crushing and condensation.
Kale is an excellent crop for learning consistency. Record the seed weight, germination period, watering, room conditions, harvest date, and usable yield. Those notes turn one successful tray into a repeatable process.
Frequently Asked Questions About Kale Microgreens
Do kale microgreen seeds need to be soaked? Small kale seed is generally sown without soaking. Pre-moisten the medium, distribute the dry seed evenly, and maintain controlled humidity during germination. Always consider the supplier’s guidance and the results of your own seed-lot trial.
Why is my kale tray growing unevenly? Common causes include an uneven media surface, patchy sowing, inconsistent moisture, poor seed-to-media contact, or uneven light and airflow. Review the tray pattern: problems limited to an edge or corner often point to environmental differences rather than the entire seed lot.
Can kale microgreens be grown with other varieties in one tray? It is usually easier to grow crops separately until you know their germination and harvest schedules. Different varieties may require different moisture, blackout, or harvest timing. Separate production also makes traceability and troubleshooting clearer. Crops can be combined after harvest if that fits your approved handling process.