
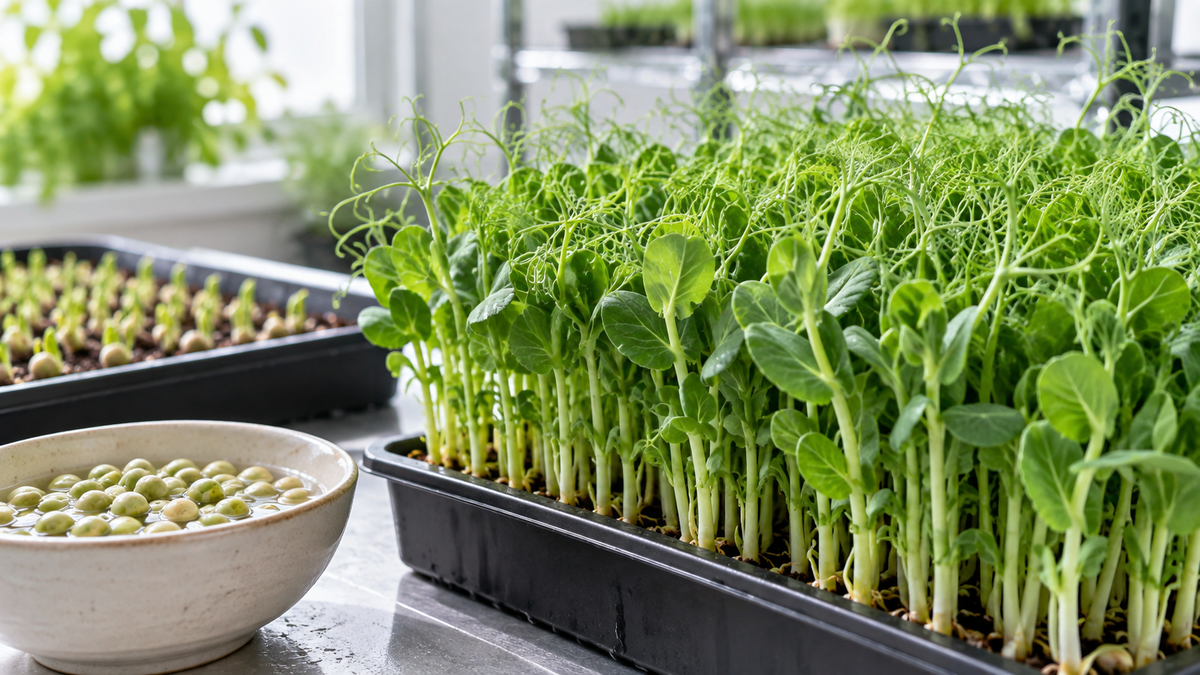
How to Grow Pea Shoot Microgreens From Seed
Pea shoots are popular because they combine substantial texture with a familiar, sweet pea flavor. Their crisp stems and green leaves work in salads, sandwiches, wraps, stir-fries, and restaurant dishes. Tendril varieties add an especially distinctive appearance.
Compared with small-seeded microgreens, peas require different handling. The seed is larger, commonly soaked before planting, and needs sufficient moisture to germinate without remaining waterlogged. The crop also grows taller, so shelf spacing and light placement deserve attention.
Choose Pea Seed for Your Goal
Different pea varieties can produce different leaf shapes, tendril development, stem structure, and crop height. Traditional pea shoots may emphasize leaves and stems, while tendril types are selected for curling growth that chefs often appreciate.
Afila Tendril Pea produces delicate curling tendrils, crisp stems, and a fresh, sweet pea flavor. That combination makes it suitable for restaurant garnishes, salads, sandwiches, and premium retail offerings.
Speckled pea is another widely recognized choice among microgreen growers. When comparing varieties, run trials under the same conditions and evaluate germination, stem quality, height, tendrils, flavor, yield, and customer response.
Inspect and Soak the Seed
Begin with clean equipment and properly identified seed. Keep the lot number with your production records. Remove obvious foreign material and follow the supplier’s directions for preparation.
Pea seed is commonly soaked in clean water before sowing. The appropriate time depends on the seed and process; soaking too long can deprive seed of oxygen or encourage deterioration. Use a clean container sized to allow the peas to expand, and drain them thoroughly before planting.
Soaking is not a substitute for sanitation. Follow the food-safety and cleaning procedures established for your operation, and never use household assumptions in place of approved commercial practices.
Prepare the Tray
Pea shoots develop a larger root system than many delicate microgreens. Use a tray and media depth that provide adequate support. A perforated growing tray nested inside a solid watering tray allows drainage and can support bottom watering after roots establish.
Choose clean media with a balance of moisture retention and drainage. Level the surface so seeds make consistent contact. Uneven media can lead to dry high spots and saturated low spots.
Distribute peas across the surface without creating deep piles. The correct amount depends on tray dimensions, seed size, germination, and desired crop density. Weigh the seed and record the amount so the result can be repeated.
Germination and Early Growth
Many growers cover or stack pea trays during germination to conserve moisture and encourage strong establishment. Check the crop regularly. A fixed number of days is less useful than observing root development, shoot emergence, moisture, and odor.
The media should remain moist but not flooded. Large seeds can create humid pockets when overcrowded or overwatered. If the tray develops an unusual odor, spreading growth, or slimy seed, isolate it and review your seed preparation, density, sanitation, temperature, and moisture.
Once shoots are established, move the tray under light. Peas can grow tall quickly, so avoid placing fixtures too close. Even lighting helps keep growth upright and uniform.
Watering and Airflow
Bottom watering can reduce moisture on foliage and limit disruption once roots reach through the tray. Add only what the crop can use within an appropriate period; do not leave roots standing indefinitely in stagnant water.
Provide gentle airflow across the growing area. Inspect dense sections, corners, and the center of the canopy where moisture may linger. Environmental monitoring is especially important as seasonal temperature and humidity change.
Avoid watering solely by schedule. A tray on a warmer or brighter shelf may use water differently from one elsewhere in the room.
Harvesting Pea Shoots
Harvest when stems are crisp, leaves look fresh, and tendrils have developed to the stage desired by your customer. Waiting longer may increase height but can also change texture. Conduct taste and handling tests across several harvest days to choose your standard.
Use clean, designated tools and cut above the growing media. Inspect the crop as it is harvested and remove damaged material. Package according to your process, avoid crushing tender tendrils, and refrigerate promptly.
For commercial production, measure harvested weight and labor time. A visually attractive tray is not automatically profitable if harvesting or packaging takes too long.
Troubleshooting Pea Microgreens
Poor germination may be related to seed quality, inadequate or excessive soaking, temperature, or inconsistent moisture. Uneven growth may result from crowded seed, irregular media, poor tray contact, or uneven light. Weak stems can be associated with excessive stretch or unsuitable conditions.
White fuzz near roots may be root hairs, but irregular spreading growth or an off odor can indicate a problem. Do not sell a crop when its condition is uncertain.
Build a Repeatable Pea Program
Record the variety, lot, dry seed weight, soaked weight if useful, soak period, tray type, media, germination method, environmental readings, watering, light exposure, harvest day, yield, and buyer feedback.
Pea shoots reward careful observation. With suitable seed, consistent preparation, appropriate moisture, adequate space, and reliable records, they can become a substantial and memorable addition to a home grow or commercial microgreens menu.