
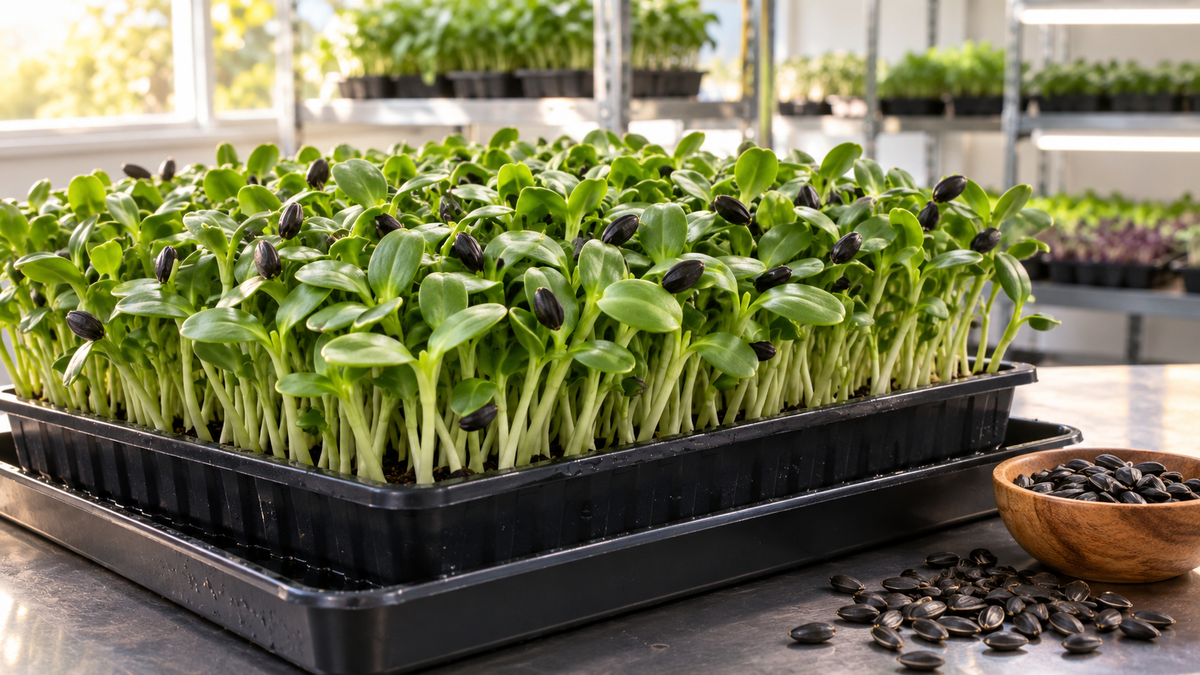
How to Grow Sunflower Microgreens Successfully
Sunflower microgreens are substantial, crunchy, and mild enough to appeal to a wide range of customers. They are commonly served in salads, sandwiches, wraps, snack plates, and smoothies. Their larger stems and leaves create a different eating experience from delicate crops such as broccoli or kale.
Sunflower can be rewarding, but it also demands attention to seed handling, density, moisture, sanitation, and airflow. Large seeds create a dense tray, and excess water can quickly lead to poor results.
Choose the Right Sunflower Seed
Black oil sunflower is widely used for microgreens because it produces the familiar thick shoots growers and customers expect. Purchase identified seed from a supplier serving growers, keep the lot number with your records, and test a new lot before placing it into regular production.
Do not use bird feed as a substitute for microgreen seed. Feed products are sold for a different purpose and may not provide the identity, purity, handling, or consistency required for growing a crop intended for people.
Inspect seed before use. A quality check can reveal excess debris, damaged seed, unusual odor, or moisture exposure. Store unopened and opened seed in a cool, dry, clean area protected from pests.
Soaking Sunflower Seed
Sunflower seed is commonly soaked before sowing so it can begin absorbing water evenly. Use a clean container with enough room for expansion. Follow the seed supplier’s guidance and your standard operating procedure rather than assuming that a longer soak is better.
After soaking, drain the seed thoroughly. Seed that remains submerged or sits wet for too long may deteriorate. Clean equipment between lots and batches according to your documented procedures.
Prepare and Seed the Tray
Use clean trays with drainage and an appropriate growing medium. Level the surface before seeding. Spread soaked seed evenly from edge to edge without creating deep layers.
Weigh the dry seed used for each tray. Volume measurements can vary depending on seed size and how tightly a container is filled. A recorded weight makes trials easier to compare.
The ideal seeding amount depends on the tray’s true growing area, germination, seed size, environment, and target crop. Overcrowding reduces air movement and creates persistent moisture between hulls. Underseeding wastes tray space. Begin with a tested recommendation and adjust gradually.
Germination and Hull Management
Many growers cover or stack sunflower trays during early germination. This can maintain contact and encourage more uniform emergence, but the crop must be checked regularly. Observe roots, shoots, moisture, odor, and overall condition.
As seedlings lift the cover, move them into light at the stage that works for your process. Many seed hulls will remain attached to the cotyledons. Maintaining appropriate humidity during emergence can help hulls release, but excessive moisture creates other risks.
Remove loose hulls gently before harvest. Do not crush the crop or handle it unnecessarily. Some growers brush the canopy lightly or allow released hulls to fall away during handling.
Watering and Airflow
Once roots are established, bottom watering can help keep the canopy and hulls drier. Apply an amount the crop can use without leaving it in stagnant water. Check the tray rather than watering automatically.
Sunflower can form a thick canopy, so provide gentle, consistent airflow throughout the room. Examine the center of the tray and any crowded areas. Monitor temperature and humidity, particularly during seasonal changes.
Water stress may produce wilted shoots, but adding excessive water in response can make conditions worse. Review root-zone moisture and drainage before making an adjustment.
Light and Harvest Timing
Provide even light across the tray. Insufficient or uneven light can create stretched or leaning growth. Adjust fixture height and tray position based on crop response, not appearance alone.
Harvest sunflower when the cotyledons are open, stems are crisp, and the crop has the texture and flavor you want. If allowed to mature too far, true leaves may appear and the eating quality may change.
Cut with a clean, designated knife or shears above the growing media. Remove remaining hulls and damaged pieces, then package without compressing the crop. Follow your established cooling and storage process.
Common Sunflower Microgreen Problems
Poor germination can be linked to seed lot performance, soaking, moisture, temperature, or seed-to-media contact. Uneven emergence can result from an unlevel tray or inconsistent coverage.
An unpleasant odor, slimy seed, or spreading growth signals that the tray needs attention. Root hairs can look like white fuzz around roots, but they are organized and usually recede when wet. When a crop’s safety is uncertain, isolate and discard it rather than selling it.
Persistent hulls may be related to seed, emergence conditions, or harvest timing. Record what happened and compare trials instead of relying on a single crop.
Calculate the Real Result
For commercial growers, track more than harvested weight. Record seed cost, labor, media, tray time, utilities, packaging, crop loss, and selling price. Sunflower can be popular, but its profitability depends on efficient production and an appropriate market.
With quality sunflower seed, clean equipment, controlled moisture, sufficient airflow, and careful records, growers can produce a crisp, flavorful crop that earns a dependable place in a microgreens selection.